And again, I'm going after the award for world's longest blog post title!
To keep with the spirit of the long post title - I'm going to write quite a few posts on implementing authentication between a Xamarin.Forms app and a backend resource - using Azure's Active Directory B2C as the (thundering voice) CLOUD IDENTITY SERVICE ... or the thing that authenticates the users so the backend knows the users are who they (or the mobile app) say they are.
There's a lot that can (and trust me will) be written about this - so I'm going to do my best to break this down into easily digestible chunks.
This article will be an overview of the concepts involved in Azure AD B2C authentication - with an emphasis placed on how it works for mobile apps.
The articles in this series will cover the gamut of how to use AD B2C in a mobile app to help secure a backend ... You'll learn how to log in, using both a email/password login and social providers as a means of authentication. How to use "policies" to specify exactly what is all involved in the authentication, so we can add on things like 2-factor. I'll show you how to provide authorization to Azure's serverless offering - Azure Functions and to Azure Mobile App Services. Once the user proves they are who they say they are, we'll cover authorization of resources.
Everything that you're going to learn in this series of tutorials can be accomplished with a free Azure subscription, so you may as well head on over there to sign yourself up for one now!
Got that sub setup? Great, let's get started with some concepts!
What is Azure Active Directory B2C Anyway?
Azure Active Directory B2C is, in four words, Azure's identity management offering. In other words, it's a service that manages authenticating users to your app (and it can manage multiple apps and server-side APIs) for you. This way you do not have to worry about taking care of safeguarding usernames and passwords - leave it to Microsoft and Azure - who are much better equipped to do so.
But not only that, it also provides a means to let users sign-up for new accounts to your app and what information you want your app to collect about the user during the sign-up process. It integrates with social providers, like Twitter or Facebook - so users do not have to create a separate login for your app. It even provides rules on how users actually sign-in to the app, such as needing to provide 2-factor authentication to increase security.
AD B2C is not limited to only a single app - it can provide authentication for multiple apps and APIs, and even front-end single page web apps (if you're into that sort of thing).
All in all - it's a powerful means of providing authenticaion to your mobile applications - all the while leaving the hard parts like safeguarding passwords and implementing a secure routing workflow to Azure - so you do not have to reinvent the wheel.
The Parts That Make Azure AD B2C Work
Of course, with anything that's robust and full-featured there's going to be a lot of moving parts and it helps to know how they all work together in order to gain an understanding of how best to use the product.
The Tenant
First off there's the Active Directory Tenant. For our purposes you can think of this as an overall container of things related to every app that you want grouped together under one Active Directory account.

So everything in the same Tenant is going to have access to the same resources.
Be careful not to get the AD B2C Tenant confused with the overall Azure AD Tenant that you use to login to the Azure portal with. For example, I login to the Azure Portal with my Microsoft account, which is in the Microsoft Active Directory Tenant - but any AD B2C Tenants I create are completely separate (which will lead to some extra steps when creating these things as we'll see in the next blog post).
The Apps
The Tenant can hold more than one app. Each app inside the tenant can be a mobile (or native) app or a web app or a API resource that needs to use the overall Tenant for authentication purposes.
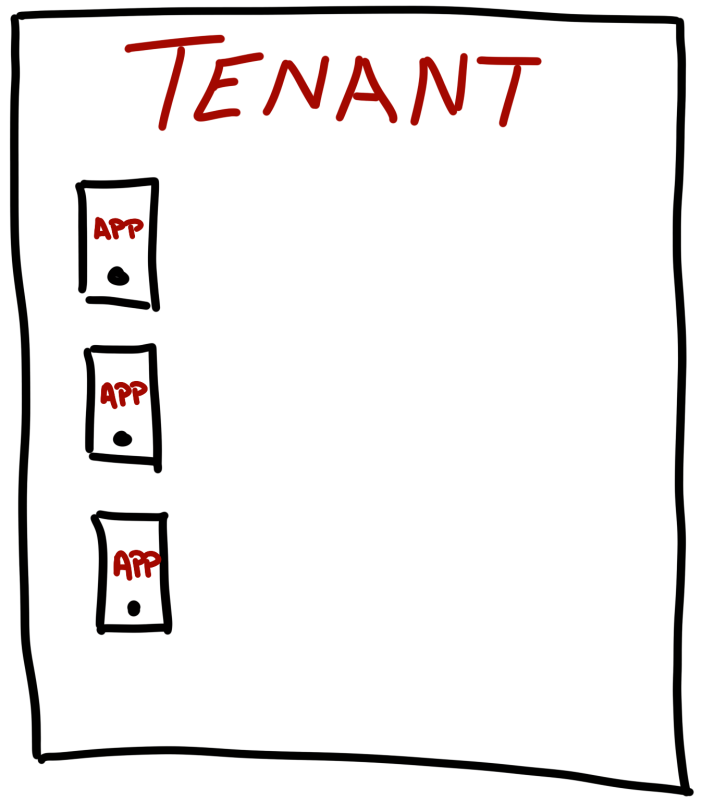
Each app has specific Scopes within it - and these scopes are meant to provide a means of authorization to parts of the app - or a means to provide authorization to the app itself. For example, you can have a read-only scope.
The Providers
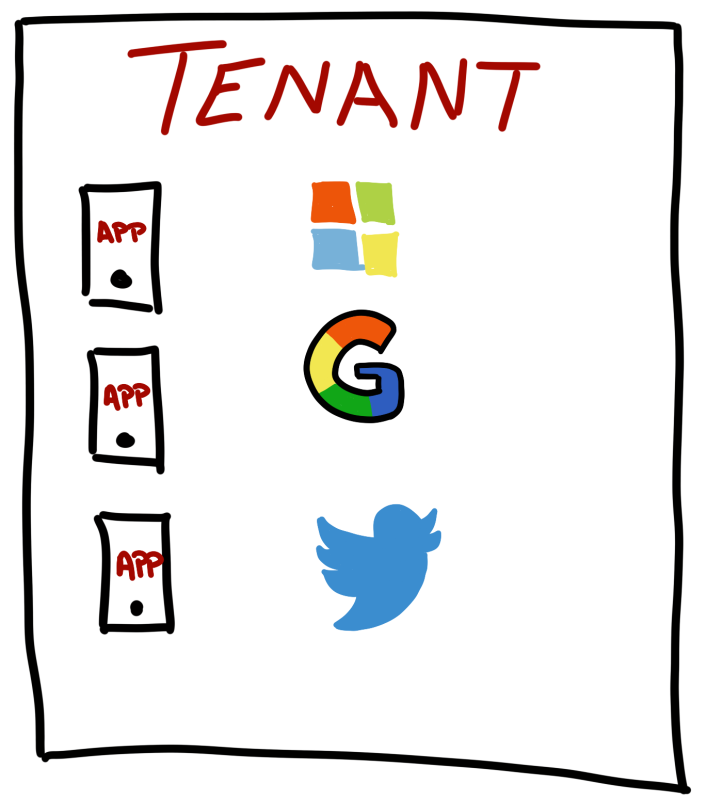
In order to login, you need to use something to login in with - and these are the providers. You can choose as many or as few as you'd like - and they can be the social providers, like Google, Facebook, or Twitter. You can have the stand-by username and password login as well. The providers provide the means of authenticating the user.
Policies
Everything in AD B2C revolves around policies. Think of these as the rules for gaining the first-level entry into your app. There are several different types of policies. Sign-up policies - or how the user creates an account for your app - including what info should be collected (name, job title, etc.). Sign-in policies - which dictate how the user can sign-in - from which providers are allowed (e.g. only Twitter), to whether 2-Factor authentication is required, to what information the AD B2C returns to the app about the user that was collected during sign-up. There are also policies regarding editing of user information or password reset.
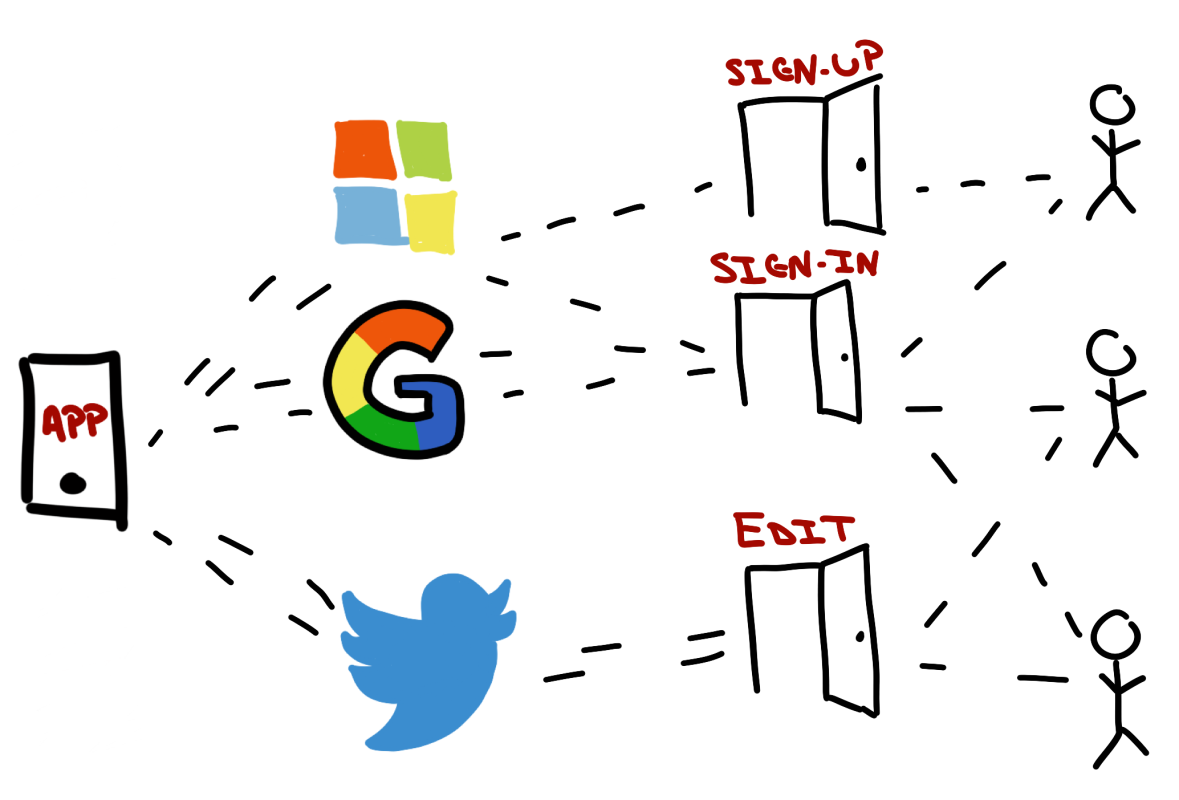
When created - each policy gets its own HTTP endpoint - that way it can be called from apps that need to invoke whatever rule the policy represents.
Policies are the gatekeeper - the rules - of how users can authenticate and manage their accounts with your apps.
The Users
Then finally, the most important aspect of all this, the users. Obviously, these are the people who are signing up to use your application, and whose identities you are protecting via AD B2C.
An Authentication Flow
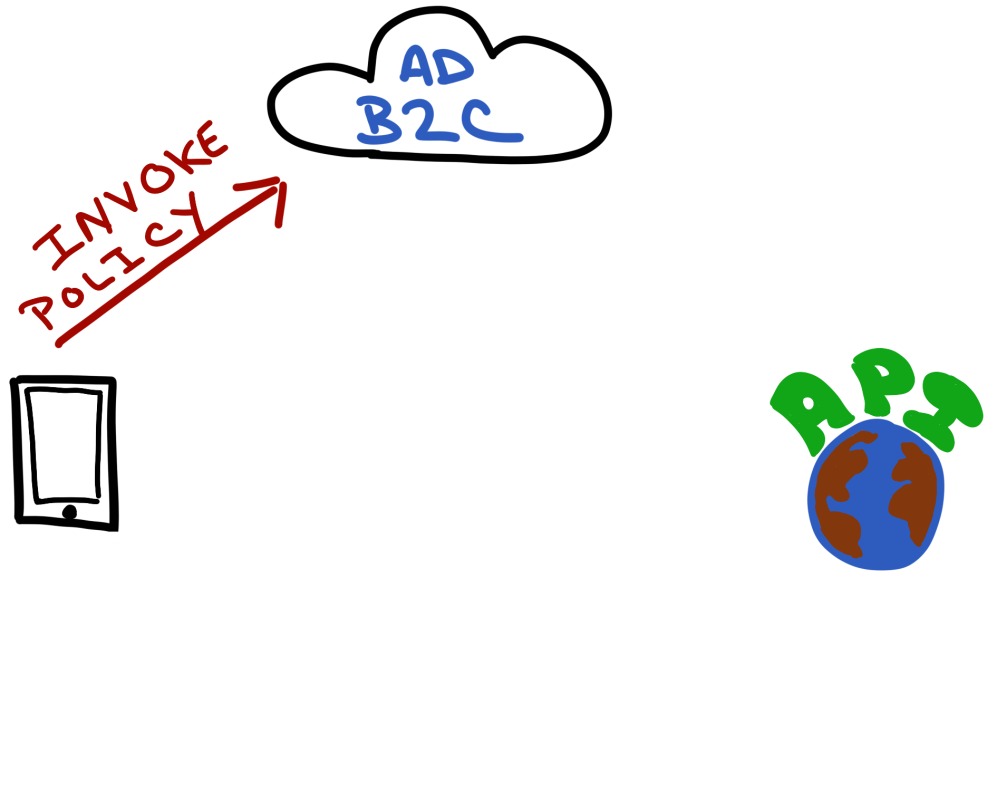
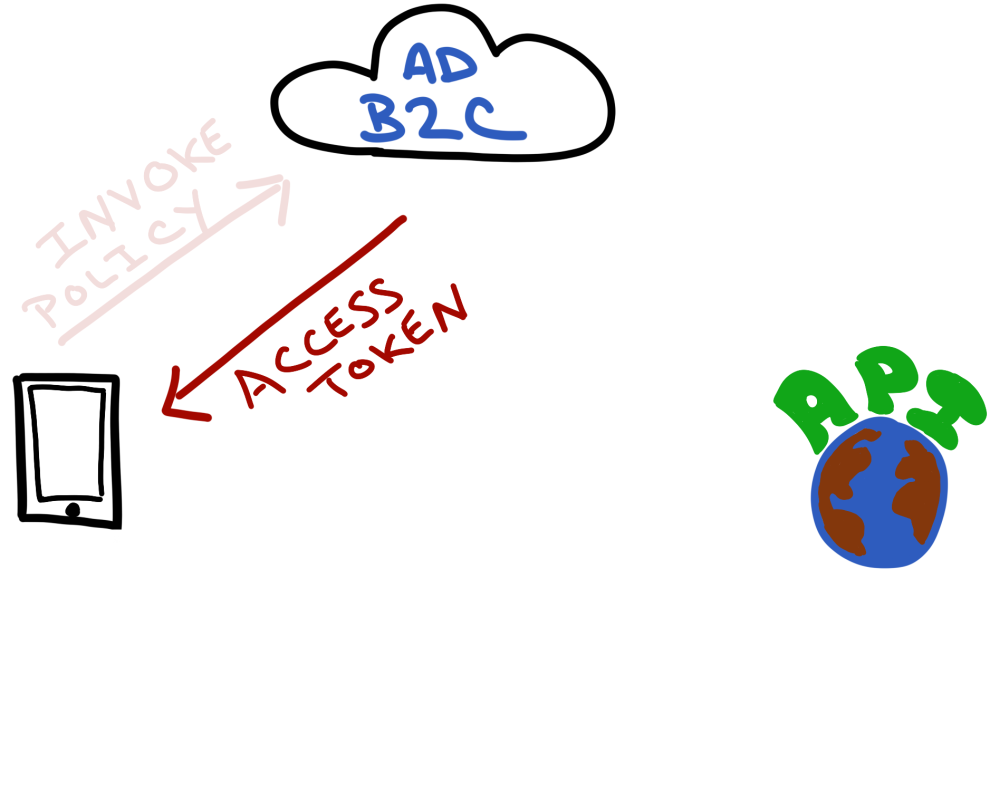
In order to kick off the whole authentication process, one must invoke a policy via an HTTP authentication request.
What's nice - as Xamarin developers, there's a library for us to use called MSAL that provides an abstraction of the top of web requests necessary in a nice C# library.
So here's how an authentication request would flow, from a mobile client that needs to access a REST API - both of which are members of the same AD B2C Tenant.
Invoke the Sign-In Policy
When using MSAL - this will automatically display a login page (in a WebView) that will let the user authenticate with the allowed providers for that policy.
AD B2C Returns a Token (and any other user info)
Using OAuth 2.0 - AD B2C will return an access token that the app will eventually send on to the REST API it wants access to. AD B2C also will send back any information about the user (such as display name) that the policy allows.
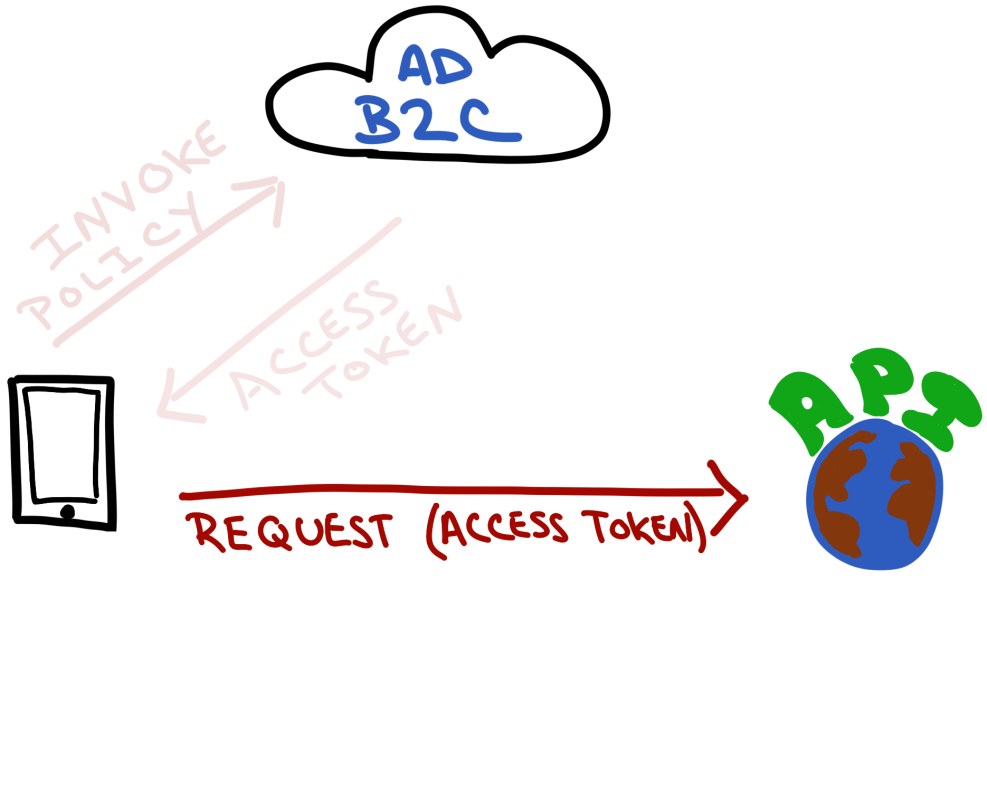
Mobile Client Sends Access Token To REST API
The mobile client will send the newly acquired access token to the REST API as a bearer token in the request to get whatever information its after.
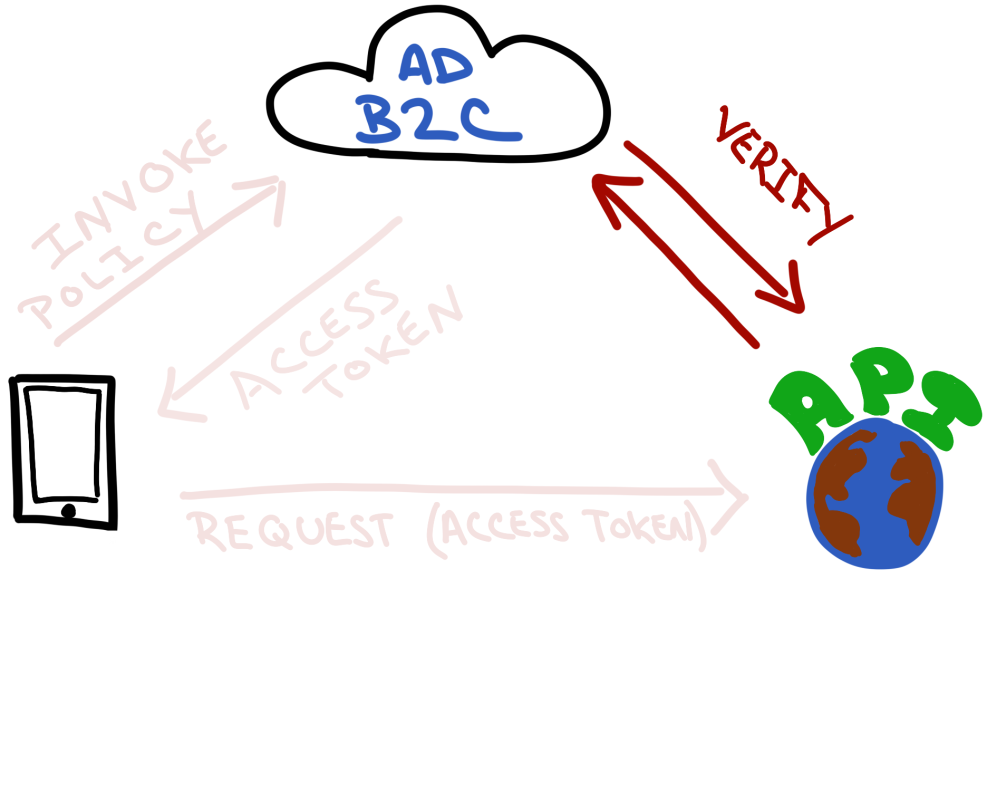
REST API Check Token Against AD B2C
Now it's the REST API's turn to use the AD B2C to check the access token - to make sure it's a valid token.
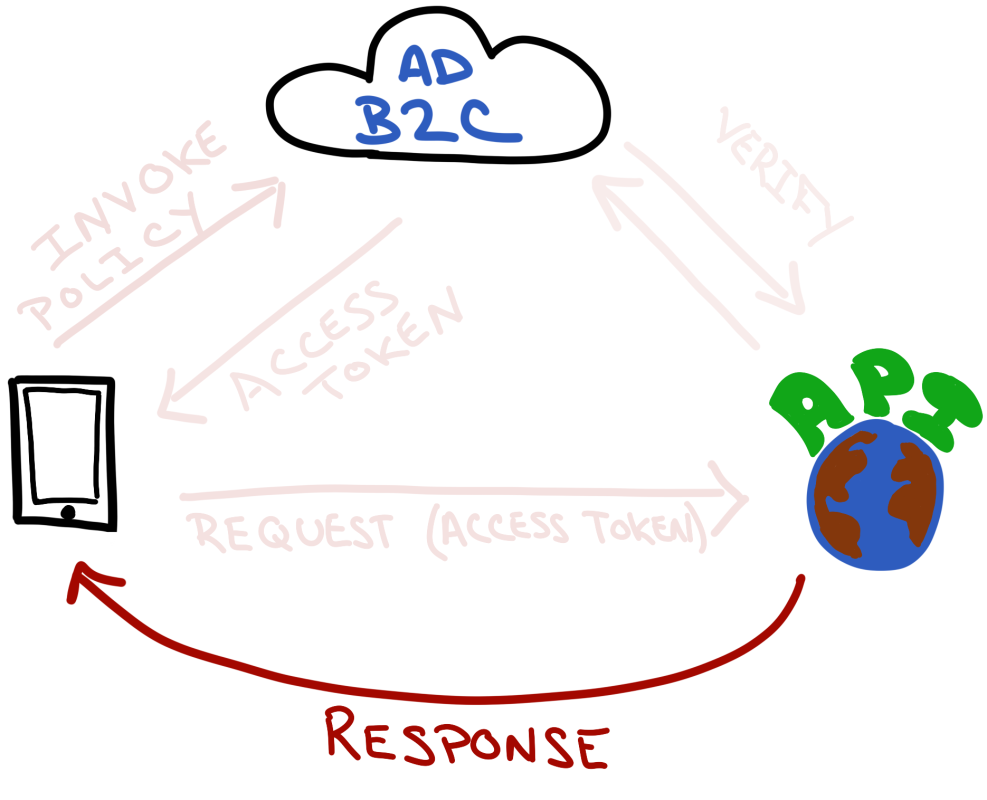
REST API Sends a Response
Finally - the REST API either sends the information requested - if the authorization was good - or it sends a 401 response. Generally speaking - it should send the information back, because the user was already authenticated. Unless the user was trying to access a resource they weren't authorized to use ... and authorization is a whole other blog post.
Summary
In summary - the AD B2C is a powerful means of providing authentication to not only your mobile apps, but also to your back-end APIs and any web front-ends you may have as well.
It incorporates several means to provide the authentication - including social providers - but it does more. It allows for account creation, allows for setting specific rules on how users can authenticate and what information the app should collect, and whether or not the user should use 2-factor authentication.
AD B2C is a big offering - and in the future articles in this series, we'll take a look at how mobile developers can fully utilize it to provide secure experiences within their apps.
Comments