This is part 2 of the Xamarin Authentication with AD B2C series.
In part 1 I gave an overview of the general concepts of Active Directory B2C and how the constituent parts work together to provide authentication, not only for mobile apps, but also for APIs as well as plain 'ol front-end web apps (again, if you're in to that sort of thing).
In this post - I'm going to show you how to create the Tenant - or the thing that's going to group all of the other parts together - within the Azure portal. While it's pretty straight forward to create the Tenant - there is a tricky part that had me stuck for a bit - so hopefully this will help you avoid that.
Want to skip the reading and just jump to the good stuff? Here's a quick YouTube video showing the steps.
The Steps to Create the Tenant
Let's get down to it - in no particular order, here are the steps needed to create an AD B2C Tenant (just kidding on the no particular order part... ).
1 - Open Up the Azure Portal
Who would've thought this would be the first step? Browse to the Azure portal and login if you need to. If you don't have a subscription, create a free account. You'll still be able to create an AD B2C - but you won't be able to take advantage of all the features.
2 - Hit the New Button!
Alright - with the obvious steps out of the way, you're going to need to hit the "new" button on the top of the left hand blade, and search for "Azure Active Directory B2C" in the portal as pictured below.
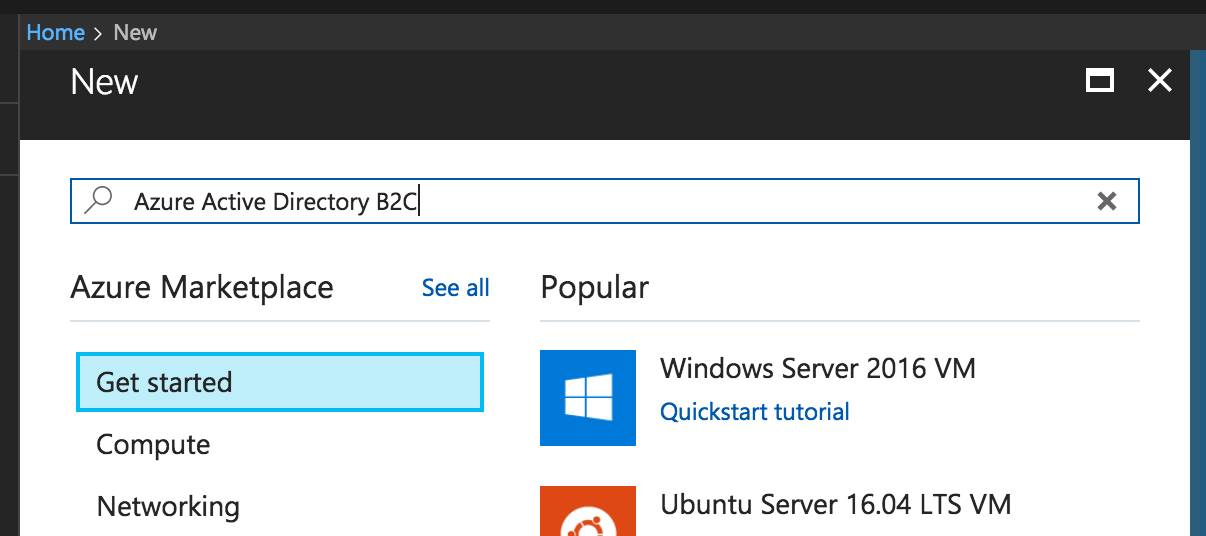
At first I thought I could browse to the AD B2C node in the "more services" option on the left hand side, and click add from there ... but no dice. You need to click the "Add" button from top of the portal and perform the search.
When then blade that shows up that allows you to create the service - just hit the "Create" button.
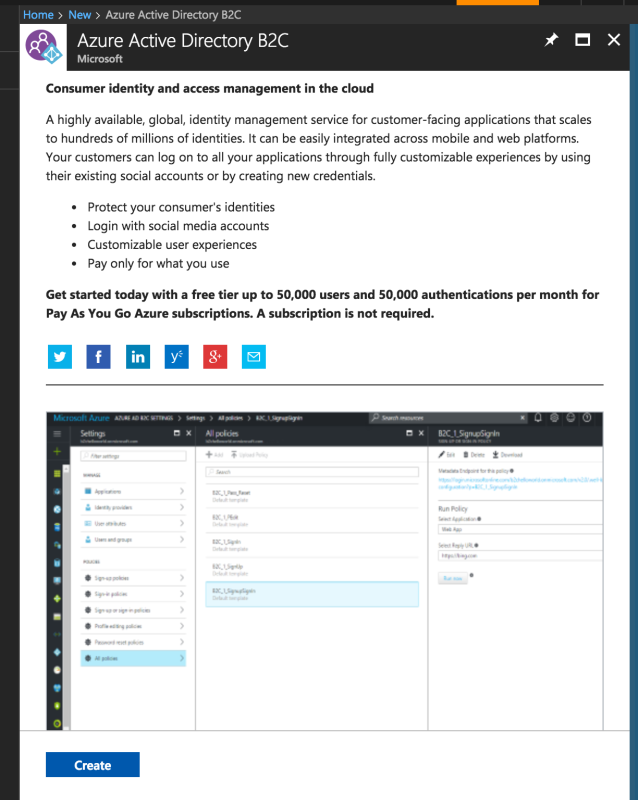
3 - Hit a Different Create New Button!
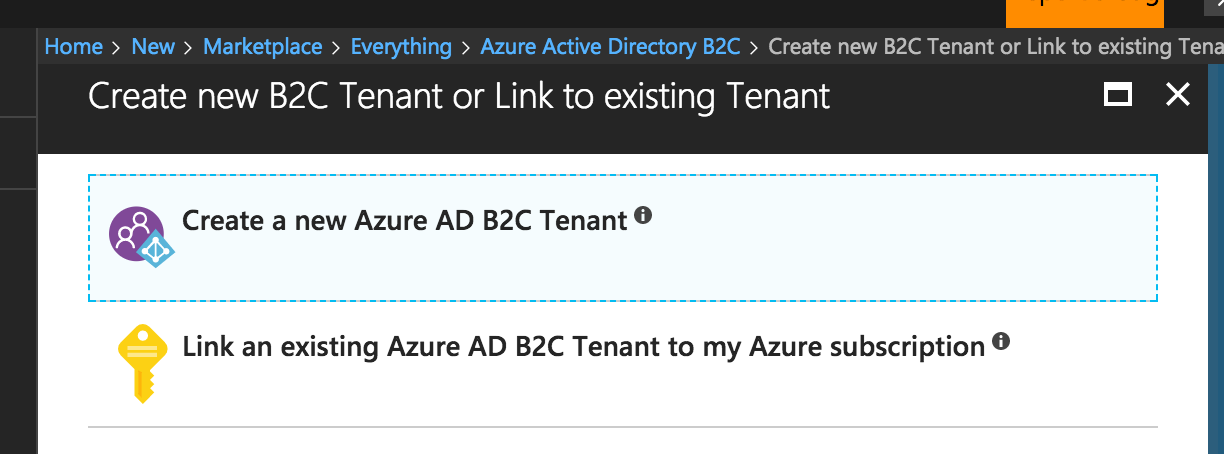
Next you'll be presented with another blade - this time asking you whether you want to create a new AD B2C or link an existing. At first I thought nothing of this blade - of course I want to create a new one! (But this blade will come back to haunt us... I mean come in useful... a bit later down the line).
4 - Fill In the Required Info!
Next you're going to be asked for an organization name, domain name, and location. Don't sweat the domain name too much - you'll be able to add on a customized one later. What's nice though - is the *.onmicrosoft.com domain name has a covering SSL certificate to it ... meaning you don't have to worry about anything SSL related, it's already there.
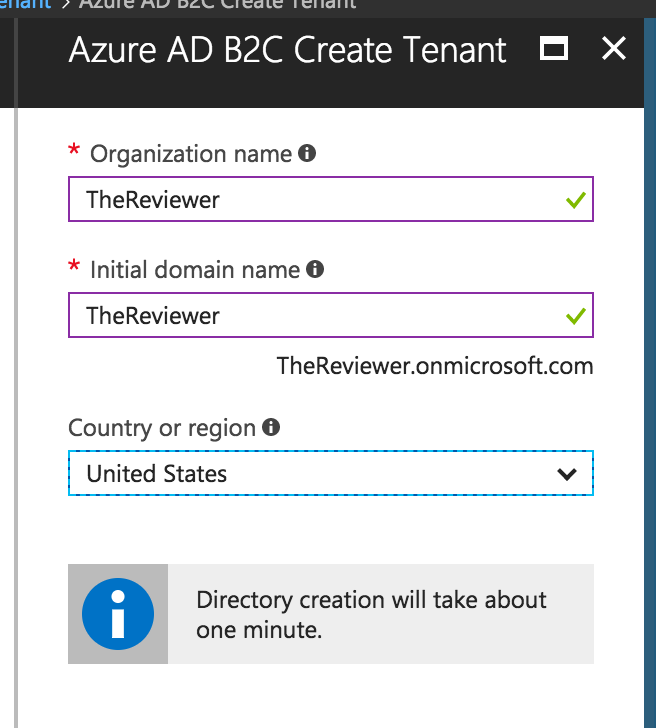
Hit the create button (it's on the button, though not in the image above) and away you'll go - a new Tenant will be created. Done!
Right?
5 - See an Error Message!

Whhhaaa?!? An error message is part of the setup process? Yeah.
So what's going to happen after you hit the create button in the last step is the Tenant will successfully get created. Yay! But since it is its own Active Directory ... it's not going to show up in the default Azure portal you normally log into. We can get them linked - and that's what this error message (well, warning technically) is telling us.
So click on it and let's link B2C Tenant to the subscription.
6 - Linking the Subscription!
This is the step that had me stuck for a while. I got back to my subscription and I had no idea what to do! There's not an option to link!
Or is there?
What you need to do is go all the way back to step number 2 - and act as if you're going to create a brand new AD B2C tenant - but this time select "Link an Existing Azure AD B2C Tenant to my subscription".
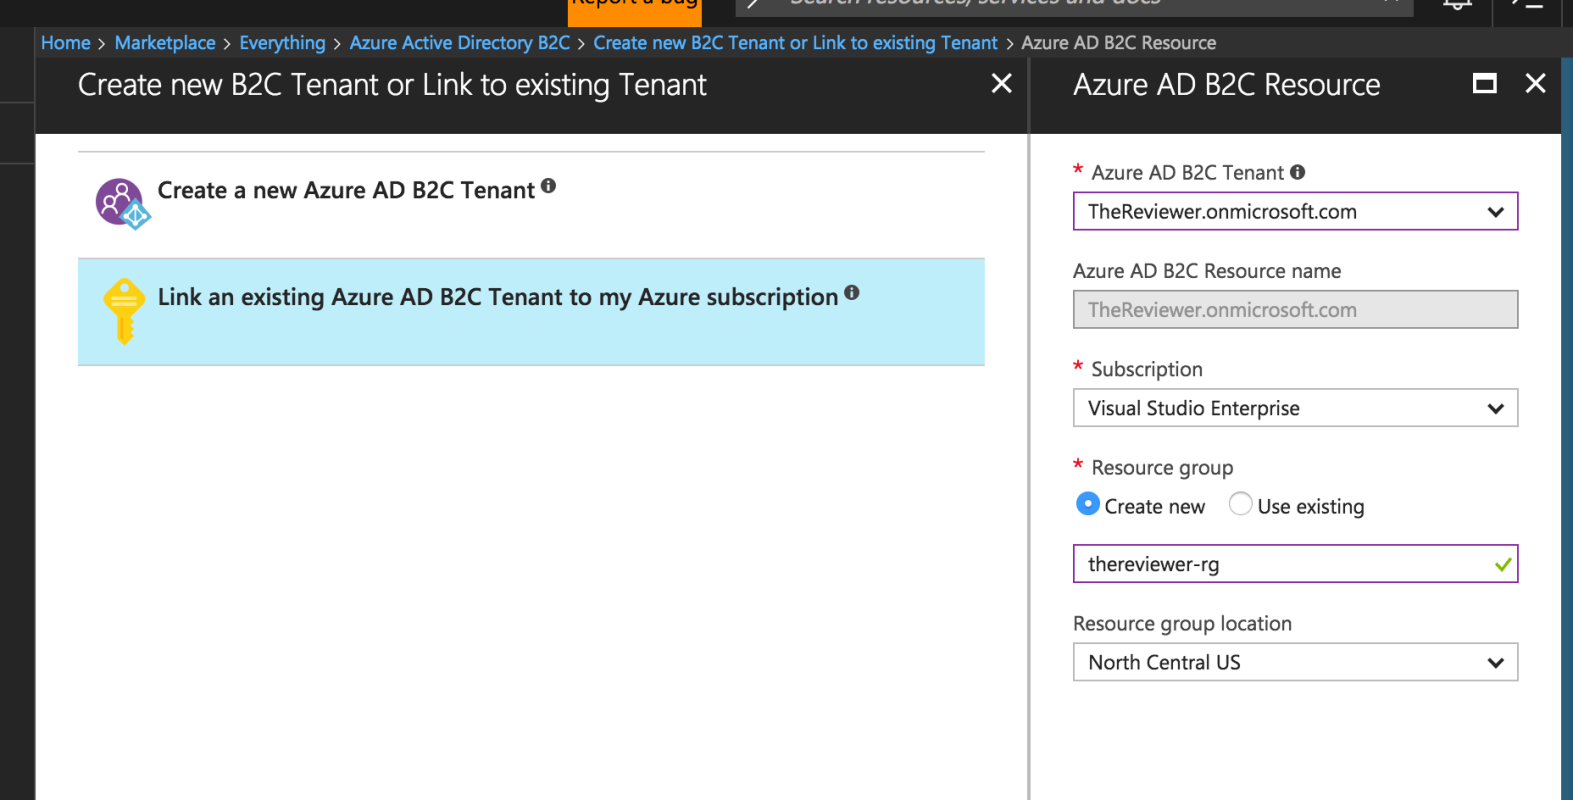
That will then bring up some dropdowns allowing you to select the Tenant you just created as well as the ability to assign it to a resource group.
You may also make sure you select the "Pin to dashboard" option here. This way you'll have a shortcut in getting back to the new Tenant.
Hit create, and away you'll go!
7 - Navigating back to the New Tenant!
You can do this in one of 2 ways.
If you pinned the tenant to the dashboard in the previous step - just click on it.
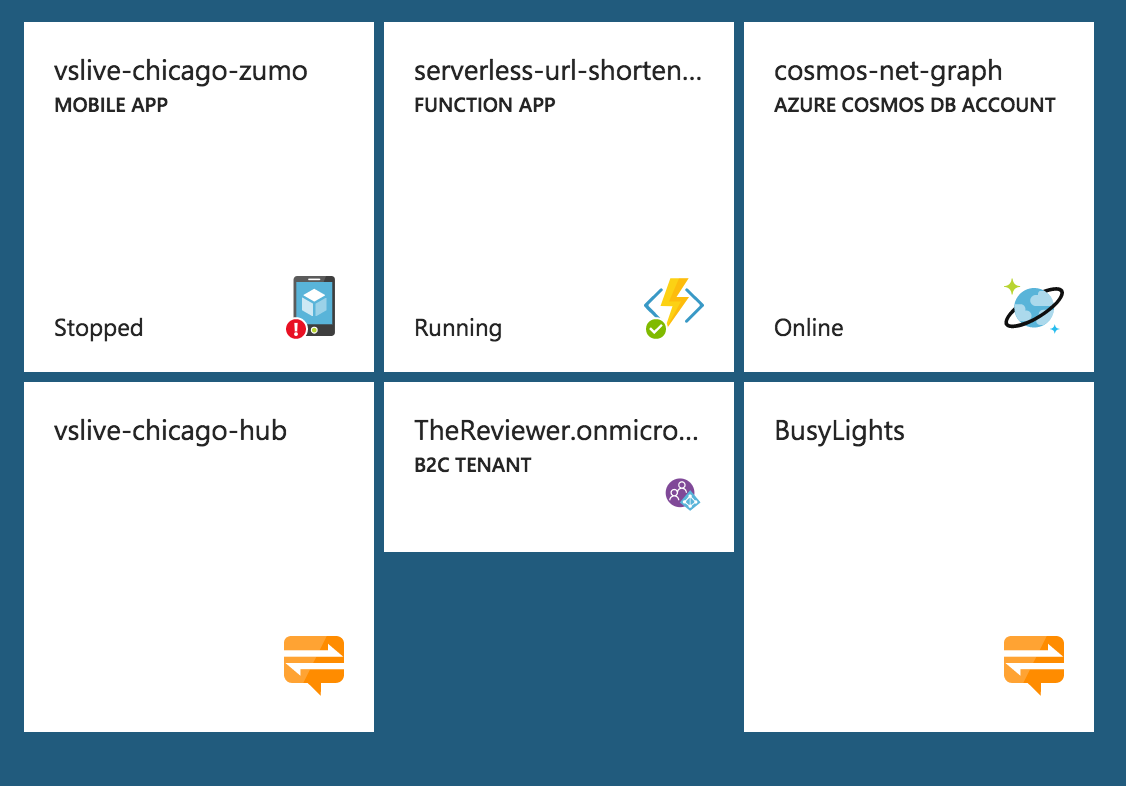
OR...
You can select your account name from the upper left hand corner. A dropdown will appear - and you'll see the new Tenant ... the new Active Directory ... there!
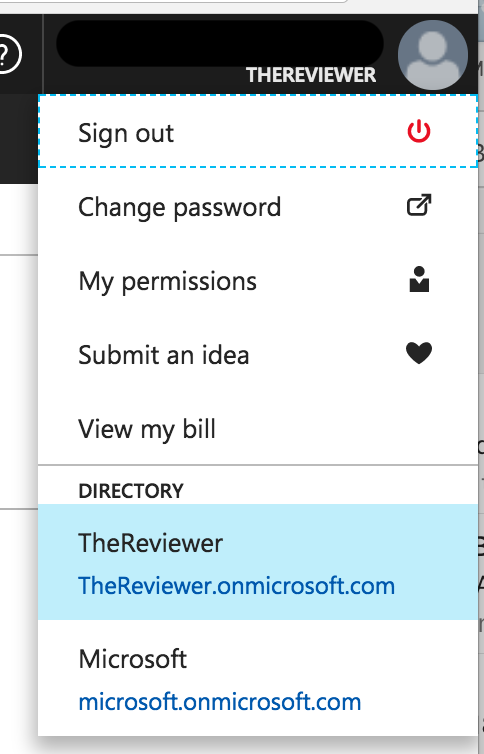
Just pick it and a new tab will open and you'll be brought into the context of the new Tenant, which will allow you to...
8 - Create a New App for the Tenant!
But ah ... that's going to be a subject for a future blog post!
And of course, the official Microsoft documentation on creating a AD B2C tenant...
Comments