Ever since the dawn of time, when Steve Jobs walked on stage and introduced the iPhone, we've been told not to use two ListView's on the same Xamarin.Forms page.

And it's true, you shouldn't. Two things scrolling around on the same page on a phone's small screen isn't the best user experience. (I'm not talking about a flyout here - but rather two scrolling things on the exact same page.)
So, what's a developer who needs to display multiple sets of data to do?
Two ListViews On One Page!! ... Kinda
A viewer of my Xamarin.Forms Pluralsight course (you should really watch it, I've heard it's great ... and send me a Twitter DM for a free month code) asked me how to / if it's possible to display 2 ListView's on a single page.
Really though we should turn that question around and ask ourselves: Can we up with a user interface that is better equipped to display 2 completely different types of data sets on the same page - without using 2 ListView's?
And I would answer yes ... we can do that by imitating the iOS UISegmentedControl within Xamarin.Forms. (Sure would be nice if Android had an equivalent ... but y'know, Android.)
So what we're going to build up here is a page that displays two different datasets. In our case a dataset for a receipe's ingredients and another for its directions.

But ... by using some Xamarin.Forms Button controls, and imitating the iOS UISegmentedControl ... we're going to be able to flip back and forth between the datasets easily.
Essentially getting 2 ListView's on the same page, but only using a single one, and that results in, in my opinion, a better UI.
Grab all the source code we'll be talking about below on GitHub!
Let's Display Some Data!
Alright - so let's build up that UI!
This is what I'm starting with for the XAML.
There's some click handlers for the Button's, the ListView and the Button's all have a name, (so we can get at them from the code behind), and the TextCell is bound to . - which means I'm not binding to a property, but rather a string. Because as we'll find out, the source for the ListView is going to be a List<string>.
All in all, not too fancy.
The fun starts in the code-behind file.
First take a peek at the page's constructor:
The big things here are setting the theList.ItemSource property and then the inital state of each Button.
All that's left is to swap out the theList.ItemSource property to the other one in the model. And that will be handled in each Button's clicked handler.
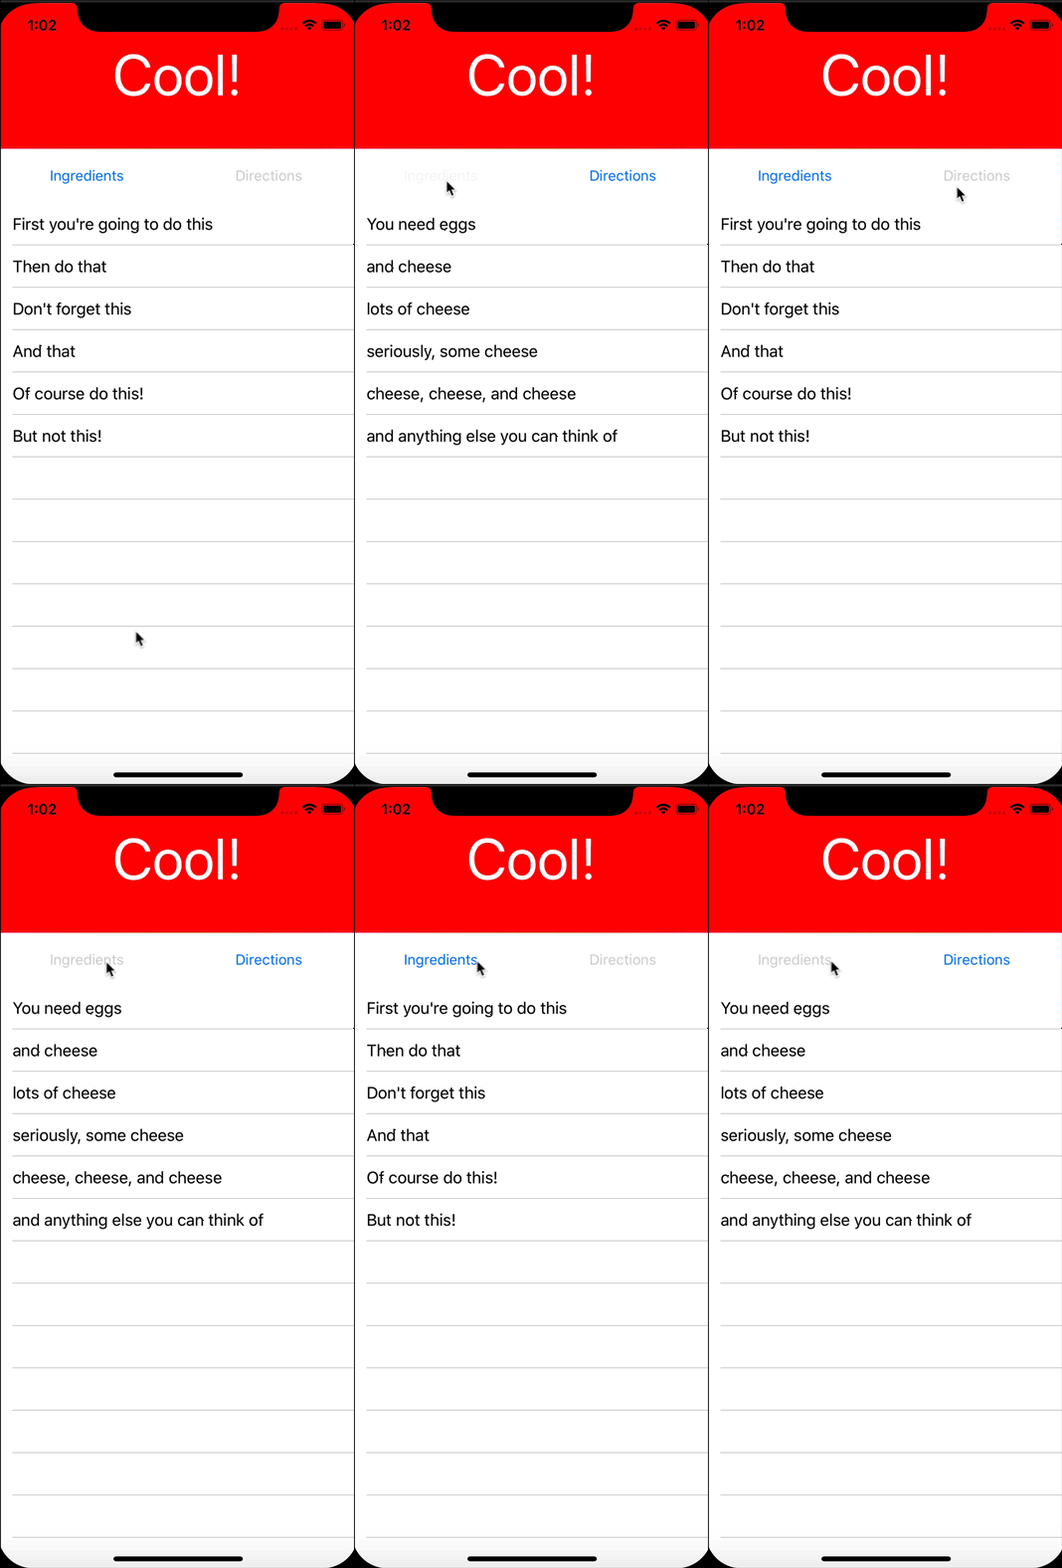
Right on - other than swapping the ItemSource we're also maintaning each Button's enabled and disabled state as well. This will keep the user from loading the same data source over and over again.

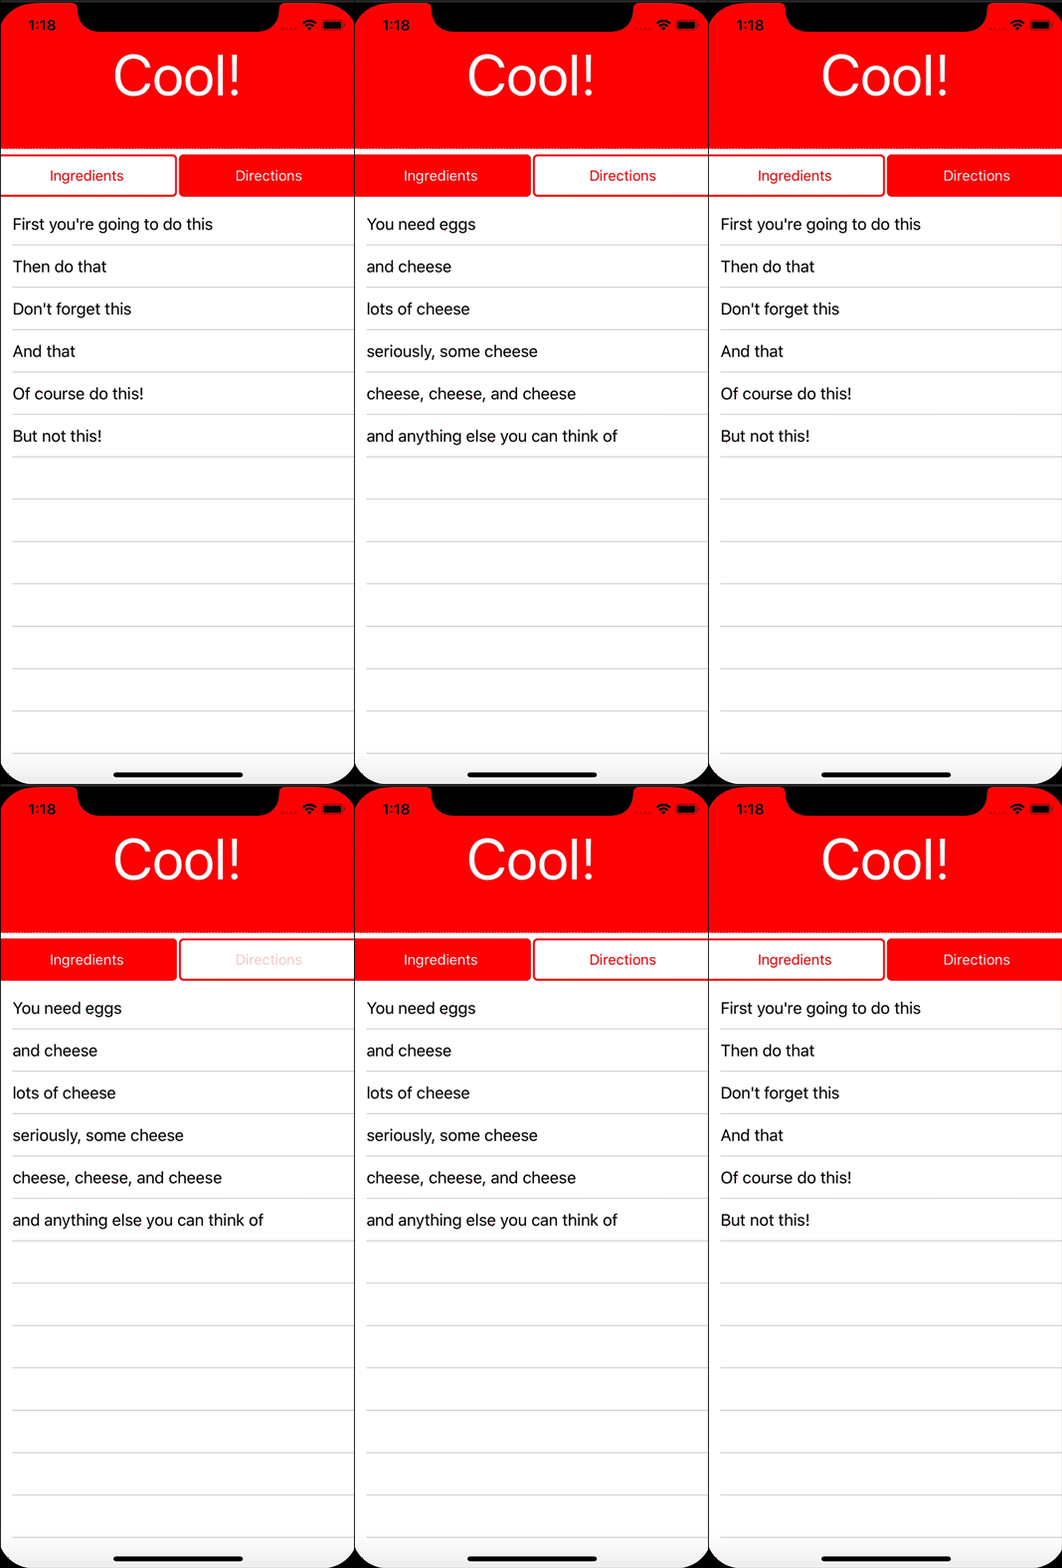
But one thing you may have noticed is that the Button's aren't doing a great job of imitating the iOS UISegmented control. Part of the segmented control changes its background color to indicate when it is showing its content.
So let's enable that with the least amount of work on our part ... using the Visual State Manager!
A Visual State Manager Detour
The Visual State Manager lets you declare what you want Xamarin.Forms controls to look like in certain states (like Focused, Enabled, or in default or Normal) in XAML.
So it's kind of like using Triggers, but only intended to change the visual components of a control based on its state.
In other words, it's perfect for changing the look of our Button's to imitate a UISegmentedControl!
I'm going to breeze through setting up the Visual State Manager pretty fast here, but check out the documentation for what it all can do - it's very powerful.
The declarations for the visual state of the buttons, depending on their state looks like the following:
There's a lot going on here - the very first thing to notice is that everything is pushed into a Style. This way the Visual State Manager will apply to every Button on the page.
Next thing, check out what's in the <VisualState x:Name="Normal"> element. It's the look of the Button that should be applied when its in the normal or default state.
Then the child elements of <VisualState x:Name="Disabled"> define what it'll look like when the Button is disabled.
Now - when the app is run, the Button's take on a much better look, approximating the UISegmentedControl and visually indicating which one is showing its contents.

Sprinkle On Some MVVM Goodness
Xamarin.Forms has such a powerful MVVM framework built-in, and I'm not using any of it so far with this demo. Let's change that!
But... we run into a problem really quickly with MVVM.
Ideally, once we setup our data bindings, we want to leave them alone. And we don't want to have any logic in the code-behind either.
So... how are we supposed to change what's bound to the ListView.ItemSource, and thus change what's displayed in the ListView, if we don't mess with the bindings once they're setup?
As the old adage goes - there's nothing that can't be solved in programming by adding another layer of abstraction!
There's nothing that can't be solved in programming by adding another layer of abstraction!
In short - in the view model we're going to have a single property that is constantly bound to the ListView.ItemSource. But we're going to change the contents of that property when we have to.
So it's going to look a little something like this.
Then, in order to react to the Button presses, we need 2 Command's. They'll look like this.
There's 2 properties for the Command's - which are initialized in the view model's constructor.
Everytime the Command gets invoked, it swaps out the values TheListSource to represent the new data set. That then will cause the ListView to be updated.
Then the Command calls UpdateVisualState which flips the bool that keeps track of which data set is currently being shown. And then fires off the Command's ChangeCanExecute. That in turn determines if the Button is enabled or disabled ... whose visual characteristics the Visual State Manager takes care of for us!
How awesome are we?!?
Displaying More Than Strings
You might be saying to yourself, what when I'm going to bind to some more complicated data than List<string>?
Well - that's where DataTemplateSelector's come to the rescue!
DataTemplateSelector's work off a property in the model you're binding the ListView to in order to pick which template to display.
So, what you can do is have the model that you're binding the ListView to implement an interface with an indicator property. That indicator property then tells the DataTemplateSelector which template the ListView should pick to display the data with. And that template then can be bound to different properties than the other one.
Go ahead and try it out and let me know if it works! (lol, I didn't try it yet!)
Wrap It Up In A Bow
So there you have it - a not too terrible way to show two completely different sets of data on the same page, using the same ListView.
This method approximates using the UISegmentedControl from iOS and gives a cleaner UI than trying to actually put two scrolly things on a single page in Xamarin.Forms.
Display all the data!!
Comments